we have moved – visit us at www.sakura.berlin:
sakura – café & bakery – Tieckstr. 8, 10115 Berlin Mitte
Mon-Fri: 8 am – 6 pm
Sat & Sun: 10 am – 6 pm
we’re looking forward to welcome you! ❤︎
we have moved – visit us at www.sakura.berlin:
sakura – café & bakery – Tieckstr. 8, 10115 Berlin Mitte
Mon-Fri: 8 am – 6 pm
Sat & Sun: 10 am – 6 pm
we’re looking forward to welcome you! ❤︎

This Saturday, sakura is turning one year old – and you‘re invited to celebrate with us 🙂 SATURDAY. OCT. 22nd – 10-18Hsakura 1 year anniversarylimited edition sakura Mont Blanc & more specials ✨come by: sakura bakery – Tieckstr. 8, 10115 Berlin Feel free to drop by for a sparkling wine on the house and try … More You are invited: sakura 1 year anniversary!
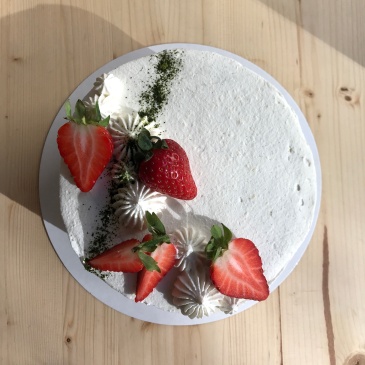
Summer is here and so is the season of sunshine, colourful fruits and beautiful berries. At sakura, our summer flavours are back: Strawberry Rhubarb Cupcakes, Raspberry Cheesecake, as well as one of my personal favourites – Matcha Strawberry Shortcake. Soft Matcha sponge, layered with a white chocolate whipped cream and fresh regional organic strawberries (image … More summer edition 2022

Are you passionate about artisan baking? Do you have experience working in pastry or hospitality, and would you like to contribute to a sustainable bakery concept? sakura is hiring bakers (part time / full time) for our location in Berlin Mitte.we’re working with all plant-based, mostly organic, regional and seasonal ingredients. our understanding of being … More join the crew: BAKER (m / f / x)
